Friday 26 June 2009

I shall be inactive

for two weeeeks.
I'm off on holiday, and I have to rush off because the taxi is coming soon.
But I'll be back with plenty of storys to tell soon<3
Friday 12 June 2009

My most shameful makeup moments!

I've been playing with makeup for many years, but I started I was much younger; the epitome of awkward pre-teen, stuck with the nickname 'Puppet' from my 'interesting' metal band. I love to look back at makeup I used to do when I was this awkward 13 year old, because it's so interesting how my personal style and skills have grown and developed over the years.
For fun, I thought I'd share this :D

Photobucket
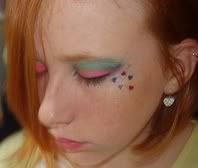
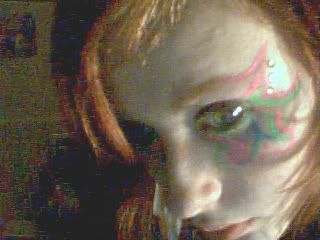
This was a classic year nine Libby, when I used to use stargazer pressed powders with water on a paintbrush and paint really crazy designs with them. I also used pritt-stick to adhere false gems onto my face.
:D

http://s42.photobucket.com/albums/e330/RustyNeedles/?action=view&current=P3280002.jpg
Now this one, with a bit of skill I think would look rather sweet. I've still not quite grown out of my phase of face painting but I keep it to inside nowadays :D A few months from here i would discover mascara.

Looking through my photobucket there are some hilarious ones which are just too shameful to share! XD

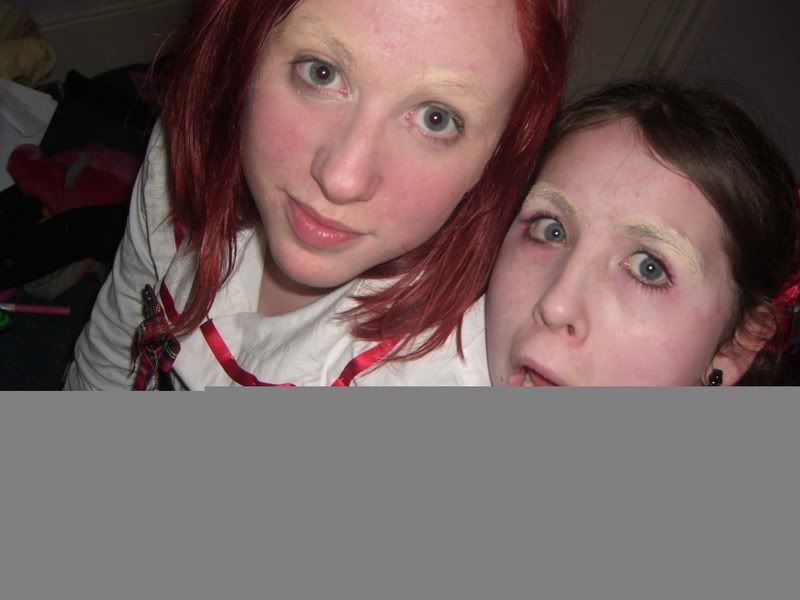
The night we lost our \'brows.
This one I find quite hilarious, me and my best friend one night a few years ago wanted to see what we'd look like with no eyebrows, so we did this!
Why is my skin not that clear now?!
Photobucket
It was neat... Just... not too great XD

I wish I still had that hair!

Photobucket
Bless, possibly my first delve into interesting makeup, could have been 2004?
I think those are actual stickers on my face.

Photobucket


I actually rather like this one! this was my 12 year old self. I think I may re-create this look tomorrow and do a comparison!


Photobucket
An early 12 year old here, I had a stupid obsession with drawing dots everywhere on my face! this was before jewels and stickers!

I hope this has been enlightening and perhaps inspiring for people to do their own posts of this subject! ^_^

Thanks for reading

xxx


Labels:

Wednesday 10 June 2009

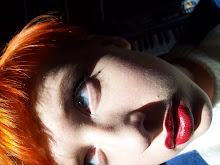
Going through the rainbow, let's start with red :D/FOTD


For a fun project I have decided to do wearable looks using brights going through the rainbow, so I started with red! ^_^

The battery was low on my camera so I couldn't make a tutorial, but I shall write out how I acheived this look for now! <3

Naturally, I opted for an old school Hollywood glamour/Pin-up look!

I started out with a moisturiser to ensure my foundation went on smoothly then applied my concealer underneath my eyes (MAC studio Fix). At a MAC counter I was told never ever to do this, but I think it makes for an even, smoother finish in the end. I also applied it down my nose as a highlight.

I took my foundation (Also MAC studio Fix) and applied it quite liberally over my face and blended into my neck. I used a buffer brush to create a smooth, matte complexion.

Very lightly with a small brush I used a blusher underneath my cheekbones and blended it in. A good way to find where to contour is to suck in your cheeks, this will highlight your cheekbones; especially if you're baby-faced like me.

I applied an extremely thin amount of vaseline over my eyebrows, just a tiny film which would anchor the powder for the precise, defined eyebrows of this look.
Using a thin, angled brush(from the body shop, it's a nice firm brush which is ideal for precise, sharp brows), I took a dark brown pop eyeshadow and painted over my pale blonde eyebrows in a defined but believeable shape. I finished this off with a clear brow gel.

I applied a neutral base to my eyelid and added a skin coloured shimmery eyeshadow over my whole lid and used a slightly darker eyeshadow in the crease of my socket, to add a tiny bit more definition, this look doesn't need a whole lot of eyeshadow but it's fun to apply :D

At this point I applied lipbalm to prepare my lips for the lipstick later.

I then took a black liquid liner and drew my usual line across my lid, adding a flick at the outer corners. If black liquid eyeliner usually ends up messy i would use a gel liner instead, as it is possible to obtain more control.
I then added mascara :D

FOR THE LIPS :D

I applied an extremely thin layer of foundation over my lips for a base and lined my lips with Illamasqua 'spell' pencil. I then, very carefully so as not to smudge it, playboy(ugh, I know, but its good stuff) lipgloss in 'red manhattan'.
I used a gloss because it was very pigmented and gave a really nice plushy appearance, and is easier to wear through the daytime as it doesnt feel as heavy as a lipstick and gloss. A good option for pigmented lipglosses is illamsqua's intense lipglosses, although I have not tried them I have heard they are as pigmented as a lipstick.

Sorry about the lack of pictures in the tutorial, but tomorrow I have an orange and purple glittery youtube tutorial to upload to make up for it :D


Sunday 7 June 2009

Sorryyy

I have been pledging to myself to become super active on here and that is what I shall achieve! I have just been excruciatingly busy!

Just to let you know of a couple of things I have planned!

  • 5 wearable neon looks (not step by step tutorials unless they are complicated)
  • street style photos (FINALLY somewhere to keep them!)
  • London haul! (mainly clothes)
  • YOUTUBE TUTORIALS :D